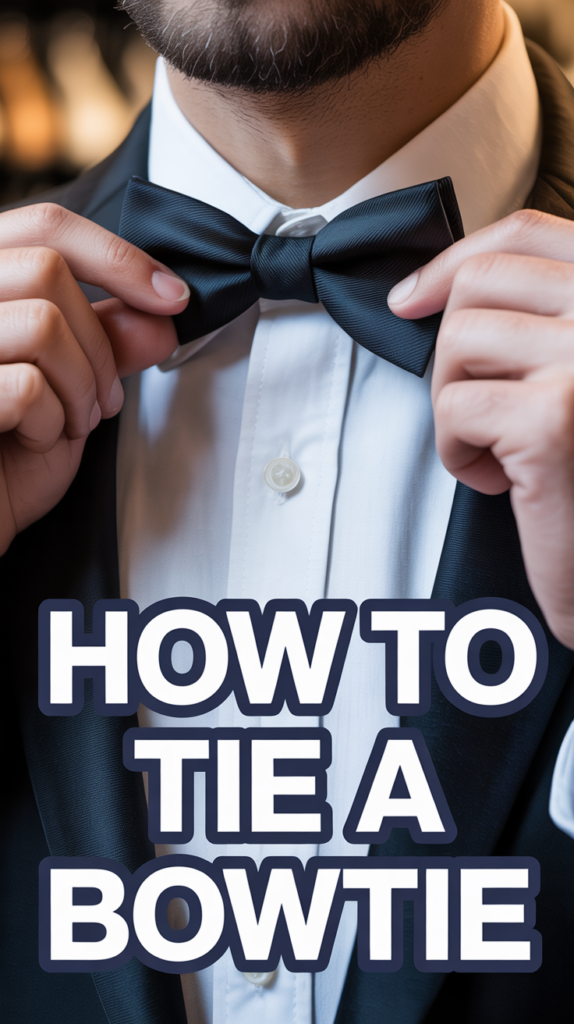
🦋 How To Tie A Bowtie
👔 The Foundation Essentials
Great style isn't about having a closet full of clothes; it's about having the right pieces. These are the 5 foundational menswear staples that stylists and fashion editors consider absolutely essential for building a versatile, universally handsome wardrobe.
👕 Carhartt Heavyweight Pocket T-Shirt
The undisputed king of basic tees. Its heavyweight cotton construction means it drapes cleanly without clinging, holding its shape wash after wash. It easily forms the base layer for casual streetwear looks or grounds a tailored aesthetic under a blazer.
👖 Levi's 511 Slim Fit Jeans
The modern standard for men's denim. The 511 hits that perfect sweet spot—slim enough to look intentionally tailored and polished, but with enough room to actually move and breathe. A dark wash pair easily transitions from the weekend to casual Fridays.
👞 Clarks Bushacre 2 Chukka Boot
The most versatile piece of footwear a man can own. When sneakers are too casual and dress shoes are too stuffy, the suede classic chukka bridges the gap perfectly. They pair just as flawlessly with selvedge denim as they do with tailored chinos.
⌚ Casio 'Duro' Analog Dive Watch
Famously worn by Bill Gates, this iconic dive watch provides staggering value and durability for the price. With its clean dial, 200m water resistance, and classic styling, it commands respect from watch collectors while instantly elevating any casual outfit.
🟤 Timberland Classic Leather Belt
A rugged, full-grain leather belt is a non-negotiable anchor for your wardrobe. Unlike cheap bonded leather that cracks and splits in months, this solid leather band develops a handsome patina over years of daily wear, grounding every look with authentic texture.
Let’s conquer the tiny fabric butterfly that separates “I tried” from “I arrived.” It’s not witchcraft—just a few moves and a bit of swagger. Grab a mirror, breathe, and let’s turn that ribbon into a flex.
1. Choose the Right Bowtie
Start smart: the right bowtie makes the whole process easier. Go for a self-tie bowtie in cotton or silk, sized to your neck. Adjustable bands make life simple.
Pro tip: Matte fabrics grip better than slippery satin, so practice with cotton first.
This works because the right material behaves, not battles.
2. Set the Length
Length matters, yes, even here. Adjust the band to your neck size—usually printed on the slider. Slightly longer than your actual size gives you room to tie.
Pro tip: If there are no markings, measure against your neck and add a finger’s width.
Dialing in the length ensures symmetry later, which saves you fuss.
3. Drape and Cross
Put the bowtie around your neck with one end slightly longer. Cross the longer end over the shorter end, right under your collar. Keep it snug, not strangling.
Pro tip: Stand tall and keep your shoulders relaxed—tension makes sloppy knots.
This step sets your foundation, which means cleaner lines later.
4. Make the Base Knot
Loop the long end under and up through the neck hole. Pull down gently to lock it in place. You’ve got a simple overhand knot—nice and centered.
Pro tip: Aim for a firm, not tight, knot so you can still finesse the bow.
A stable base keeps your bow from collapsing mid-party.
5. Fold the Front Bow
Take the short end and fold it horizontally into a bow shape. The folded part should sit across your collar like a neat little fan. Hold it steady at the center.
Pro tip: The front bow should be as wide as your face between the eyes—balanced and flattering.
This creates the “frame” that the rest of the tie fits around.
6. Drop the Long End Over
Let the longer end drape straight down over the front bow. It’ll look like a sandwiched ribbon for a second—totally normal. Keep your thumb pinching the center.
Pro tip: Keep the long end perfectly vertical to avoid twists later.
This step sets up the hidden loop you’ll thread in a moment.
7. Build the Back Bow
Fold the dangling long end back on itself to form the “back” bow. The fold should happen right at the widest point of the front bow. You’re creating a little tunnel behind the front layer.
Pro tip: Use your index finger to hold that tunnel open. It’s your threading lane.
This is where the magic structure comes from—front and back layers balance each other.
8. Thread the Middle Loop
Push the folded back bow through the tunnel behind the front bow. Don’t panic—it’s fiddly the first time. You’ll see the bow shape appear like a reveal.
Pro tip: Pinch both centers while you pull the loop through to keep symmetry.
Threading creates the classic knot without strangling the shape.
9. Tighten and Shape
Pull the front and back bows—not the ends—to tighten. Alternate sides in small tugs until it’s snug. Keep the ends even and the edges crisp.
Pro tip: Flatten the tips with your thumbs and pull the folds outward for volume.
This controlled tightening gives you that sharp, tailored look.
10. Check Symmetry
Look in the mirror and inspect: even wings, centered knot, parallel edges. If one wing droops, adjust the opposite loop. Small tweaks go a long way.
Pro tip: Use a pocket mirror for side angles—profile symmetry matters in photos.
Symmetry makes it intentional, not “oops I tried.”
11. Lock It In
Give it a final snug tug on the loops, then stop. Slide fingers under the knot to make sure it’s comfy. Pop your collar down and admire the handiwork.
Pro tip: A tiny spritz of water on cotton helps it hold shape. Don’t soak silk.
Locking the shape keeps it crisp through cocktails, speeches, and dance battles.
💼 The Grooming & Polish Kit
The difference between looking 'okay' and looking genuinely well-put-together is entirely in the finishing details. These 5 grooming and care essentials are what truly elevate your presentation from the standard off-the-rack look to an intentionally polished aesthetic.
🪒 Philips Norelco Multigroom Series 7000
A sharp outfit is instantly undermined by an unkempt beard or messy neckline. This powerhouse all-in-one trimmer handles everything from precise beard fading to body grooming, ensuring lines stay crisp so your overall presentation remains impeccably sharp.
🌊 Davidoff Cool Water EDT Fragrance
Your scent is the invisible accessory that leaves a lasting impression. This timeless, universally praised aquatic fragrance offers a fresh, masculine scent profile that is crisp enough for the office yet intriguing enough for date night—a true daily driver.
👞 Complete Leather Shoe Care & Polish Kit
Nothing ruins a tailored suit faster than scuffed, dull dress shoes. Keeping a dedicated horsehair brush and quality polish kit on hand guarantees your footwear always looks maintained, instantly upgrading the perceived value of your entire outfit.
♨️ Steamfast Mini Travel Steam Iron
Wrinkles are the enemy of sharp style. This incredibly compact but powerful iron knocks out collar creases and shirt wrinkles in minutes. It completely changes the game for maintaining the sharp, crisp lines that distinguish intentional menswear from lazy dressing.
🧳 Waxed Canvas & Leather Dopp Kit
Throwing your grooming supplies into a plastic ziplock bag is a habit to leave in the past. A handsome, water-resistant canvas toiletry bag organizes your essentials with dignity and rugged style, ensuring you remain a gentleman whether at the gym or traveling.
Conclusion
You did it—tiny fabric, big flex. With a good base, clean folds, and a few confident tugs, the bow sits like it was tailored for you. Now go be the person people ask for help at weddings—because you’ve got the moves.